Building a Cross-Platform Game Launcher with Electron

Game Launcher with Electron Cover

In modern game development, building a smooth launcher is crucial. It provides a reliable way to update your game, manage user authentication, and add new features. Many of us have worked with web-based solutions before. Still, creating a full desktop launcher brings its own challenges. In this article, weā€™ll show you how to build a cross-platform launcher using Electron. Weā€™ll also compare it to a few other tools. Along the way, weā€™ll cover code signing on Windows and macOS, handling automatic updates, and tackling common pitfalls. Our goal is to help you avoid the hurdles we faced.


Key Points

  • Electron leverages a Chromium-based environment, making it easier for web developers to transition into desktop app development.
  • Tauri and other alternatives can offer improved performance or smaller app sizes, though they often require deeper knowledge of lower-level languages like Rust.
  • Windows and macOS have different approaches to code signing and app certification, which can complicate your build pipeline.
  • Auto-updates require careful handling of file checksums, version checks, and package distribution methods.
  • Cross-platform builds often need environment-specific runners (e.g., macOS VMs, physical Windows machines) to handle signing and packaging.

Understanding the Cross-Platform Environment

A typical multiplayer game environment includes:

  • Launcher: Oversees game file downloads, updates, partial patches, and potentially user authentication.
  • Backend: Stores and retrieves user data such as inventory, account info, or game stats.
  • Game Server: Manages real-time multiplayer interactions, user matchmaking, and in-game sessions.
  • Game Client: A desktop application that displays the game world and communicates with the server.

Why Electron?

Electron bundles a Chromium browser engine and Node.js runtime, enabling developers to create desktop applications with web technologies like HTML, CSS, and JavaScript (e.g., React, Vue). Some key advantages include:

  • Familiar tech stack for web developers.
  • A large ecosystem of plugins and community support.
  • Straightforward bridging between the frontend (renderer) and back-end process (main) for file operations, network requests, or system-level access.

Popular Electron Apps

Electron has powered several well-known applications, illustrating its robustness in production:

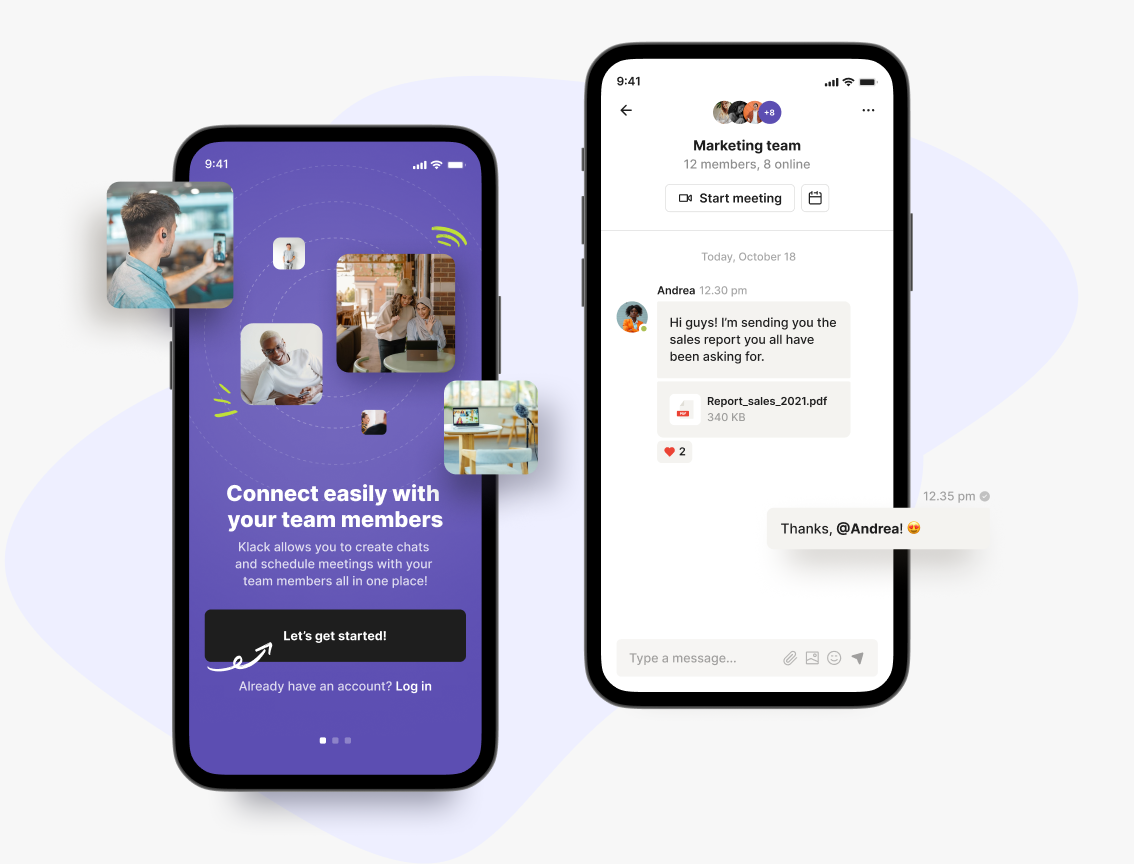
  • Slack: A widely-used messaging platform with real-time collaboration and rich plugin support.
  • Discord: Popular voice and text chat for gamers, featuring community servers, real-time voice channels, and screen-sharing.
  • Visual Studio Code: Microsoftā€™s extensible code editor, offering IntelliSense, debugging, and a massive ecosystem of plugins.

These apps prove Electronā€™s viability at scale and show how a desktop experience can be built atop web technologies without sacrificing performance or reliability (given proper optimization and development practices).

Alternative Frameworks at a Glance

While Electron is our final choice, there are a few popular alternatives:

  • Tauri:
    • Produces small, fast binaries.
    • Relies on Rust for system-level operations (steeper learning curve).
    • Great if performance and minimal size are top priorities.
  • NW.js (formerly Node-Webkit):
    • Similar to Electron, also uses Chromium + Node.js.
    • Slightly different architecture, but many of the same capabilities.
  • Flutter Desktop:
    • Uses Dart, which might be unfamiliar to some developers.
    • Strong multi-platform UI toolkit.

Each alternative has unique benefits and trade-offs related to development complexity, bundle size, and ecosystem support. For maximum simplicity and community backing, Electron remains a solid choice.

Apps Built With Electron

Technical Highlights of an Electron-Based Launcher

Main and Renderer Processes

Electron apps are commonly split into two main parts (though this is a best practice rather than a strict requirement):

  • Main Process: Handles lower-level operations like file access, code signing checks, or OS-specific tasks. Node.js is the main environment here, supported by libraries specifically built for system-level operations and environment interaction.
  • Renderer Process: Displays the user interface (UI) through a Chromium engine, supporting frameworks like React, Vue, or Angular. It relies on frontend-oriented libraries and packages.

Separating the main and renderer processes in Electron makes development cleaner. Each side can use specific libraries built for its role without creating messy dependencies. This setup reduces bugs and keeps things organized. The two processes communicate using an event-driven system called IPC (Inter-Process Communication). For instance, the renderer might request a file download. The main process handles the download and sends progress updates back to the renderer. This clear separation makes complex tasks easier to manage.

Storing Persistent Data

A frequent challenge with launchers is ensuring they remember key user data between sessions. Without a proper solution, users might lose their settings, progress, or other important information if the app is closed or restarted.

Electron Store solves this problem by offering a simple and reliable way to save and retrieve data locally. It uses a key-value format to securely store user preferences, game versions, or Terms of Service acknowledgments. For instance, you can save the userā€™s acceptance of terms and conditions or their chosen avatar. By addressing these small but essential details, Electron Store ensures a smoother and more reliable experience for your users.

Environment-Based Builds (Dev, Stage, Prod)

When you have different environmentsā€”development (dev), staging (stage), and production (prod)ā€”you can approach builds in two ways:

  1. Single Artifact: Generates one installer or package that detects or configures itself for the correct environment.
    • Pros: Shorter CI/CD pipelines, faster testing of business hypotheses, simpler overall process.
    • Cons: The artifact may become larger, and updating a dev version might also affect production if not handled carefully.
  2. Multiple Artifacts (one per environment): Builds separate installers for dev, stage, and prod.
    • Pros: Cleaner isolation of environments; no risk of dev changes inadvertently affecting production.
    • Cons: Longer pipelines; more overhead to maintain and manage multiple versions simultaneously.

Our approach uses a single artifact, prioritizing rapid iteration and a streamlined CI/CD flow over having multiple environment-specific builds.

Code Signing on Windows and macOS

Distributing an unsigned application often triggers security warnings, so proper code signing is essential.

  • Windows (using Certum):
    • Developers typically obtain a signing certificate from third-party providers (we use Certum).
    • Once acquired, integrate the certificate into your build process. In some cases, the certificate might reside on a physical device or security dongle.
    • Automation: Tools like AutoIt can be scripted to handle GUI interactions during signing (e.g., entering a PIN in a dedicated Windows application), making unattended builds more feasible.
  • macOS:
    • Apple requires a Developer ID certificate and an active Apple Developer account.
    • During packaging, you submit your build to Appleā€™s servers for notarization, after which your launcher becomes trusted by macOS Gatekeeper.
    • You can automate this using a macOS-based CI runner and security files (offered by GitLab, for example) stored separately from your main repository. This often involves uploading your .p12 certificate and passwords as GitLabā€™s secure variables or protected files, ensuring they arenā€™t exposed in your source code.

Maintaining Separate CI Runners

For fully automated builds, your CI/CD pipeline (e.g., GitLab) often requires:

  • A dedicated macOS runner to build, sign, and notarize macOS versions.
  • A dedicated Windows runner (physical or VM) to code-sign and package the Windows installer.

Some teams rely on remote desktop solutions to maintain physical machines that host certificates. If the machine restarts or updates, you may need a manual reconnection step to restore your runner environment.

Our general CI/CD plan for both Windows and macOS involves:

  1. Testing stage (run unit tests, integration tests).
  2. Dependency installation (install Node.js modules, system libraries).
  3. Separate builds for main and renderer based on webpack configurations.
  4. Post-install checks (verify dependencies; add or update config files/DLLs for webpack).
  5. Electron Builder stage (create final artifact).
  6. Certificate signing (on the respective OS runner).
  7. Deployment (upload the signed artifact to Amazon S3, though GitLab storage is also possible).

Handling Auto-Updates and Partial Patches

A launcher should allow seamless game updates. You can host your update files on Amazon S3 (our chosen method) or another distribution service. The basic flow is:

  1. Check the latest version via a config or JSON manifest.
  2. Compare checksums or version numbers with what the user has locally (stored in Electron Store).
  3. Download and verify only the new or modified portions (partial patches) rather than re-downloading the entire game client.

Be aware that code signing can change final checksums, so be sure to regenerate or update your manifest post-signing. Storing manifests on GitLab is also a viable option if that fits your workflow.

Launcher Error Handling

A reliable launcher needs to handle errors in a clear and user-friendly way. Otherwise, small issues can turn into major headaches. Below are a few strategies that help keep the launcher stable and transparent:

  • Real-Time Logs: When a user launches the app from a terminal, they can see main process logs right away. Any errors or warnings show up immediately, making troubleshooting simpler.
  • Renderer Console: The renderer also generates logs, but you need to enable them. Build a feature that captures these logs in real-time. That way, you can see front-end errors as they occur.
  • Sentry Integration: Consider setting up a project on Sentry.io. Sentry collects error logs automatically. It also captures the userā€™s ID and the launcher version. With this data, you can pinpoint issues quickly and fix them before they escalate.
  • Reset to Defaults: If the launcher keeps crashing, give users a simple path to reset everything. Clearing the cache and restoring factory settings often solves many issues.
  • Reinstallation: If all else fails, suggest a full reinstall. This is rare but can resolve deep-level conflicts or corrupted files.
  • Client Detection: Your launcher can also check if the game client is still installed. If the user removes the game folder manually, switch the ā€œPlayā€ button back to ā€œDownload.ā€ This prevents confusion and ensures a seamless path to reinstallation.

Error handling may sound small, but it can have a huge impact on user satisfaction. These best practices help you stay proactive and deliver a smoother, more reliable gaming experience.

Extensions and Plugins in Electron

Electronā€™s built-in Chromium engine supports browser extensions, though additional setup is required. This is helpful for specialized integrations such as using MetaMask for Web3 authentication or browser-based development tools. Notable Electron-related plugins/packages include:

  • electron-builder ā€“ Automates packaging and distribution for multiple platforms.
  • electron-updater ā€“ Helps handle in-app updates.
  • electron-devtools-installer ā€“ Simplifies installing dev tools (e.g., React or Vue DevTools).
  • auto-launch ā€“ Allows your launcher to start at system login.
  • electron-log ā€“ Provides a unified logging system for both main and renderer processes.

Keep in mind you must manage extension and plugin updates manually, as auto-update flows differ from typical web browsers.

Conclusion

Creating a cross-platform game launcher can feel exciting and intimidating at the same time. Electron offers a familiar tech stack while giving you deep system-level access. Yet, it brings extra steps, such as code signing, specialized CI/CD setups, environment-based builds, and partial patch updates. Planning for these elements upfront will save you time.

A well-structured approach leads to a smooth user experience. Your players can then get fast updates, single sign-on, and efficient downloads. Of course, every project has different needs. Think about performance, security, and ongoing maintenance when you choose your framework. With Electron, you can deliver a modern launcher that updates easily, keeps your community engaged, and grows with your gameā€™s success.